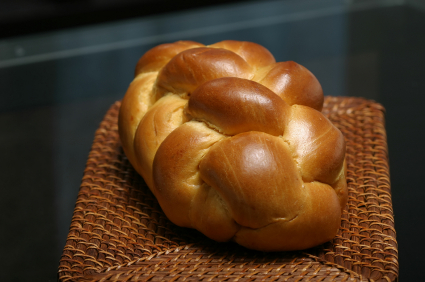
Quickie Whole-Wheat Challah
This is a great, easy Erev Shabbos/ Friday morning recipe that I developed only recently. If followed exactly, your challahs should come out light and fluffy, with a delicately golden and slightly crispy crust. It makes 6 medium-sized loaves or 4 larger ones.
(This size dough has the minimum amount of flour in it to create the “shiur”, ie, the amount of flour necessary to get the mitzvah for hafrashas challah. In order to be able to make the blessing and do the actual commandment of ‘separating challah’ one must have a dough with a certain minimum requirement of flour in it. )
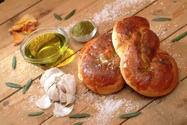
Plus, this recipe only takes about 15 minutes to put together. They came out so perfectly that I didn’t have one crumb left over. For Rosh Hashanah, I simply braid them rounded instead of in long loaves, and add in the fruit of choice.
Ingredients
1 cup light brown sugar (For Rosh Hashanah, if you like your challas very sweet, add in an additional 1/3 cup sugar, even up to 1/2 cup for those with a real sweet tooth!)
2½ tablespoons dry yeast OR 75 grams fresh yeast
5 – 5 & 1/2 cups warm water
1 kilo very finely ground whole wheat flour (in Israel, it’s called meshubach)
1 kilo whole wheat regular flour
2 cups additional white flour, or finely ground whole wheat*
4 eggs
2 tablespoons salt
3/4 cup oil, divided
Method
(*This comes to 5 lbs.or 2.3 kilos of flour all together; ie, the minimum amount of flour necessary for the commandment of separating challah according to all Rabbinic opinions.)
Place 2 cups warm water, the sugar and the yeast in the mixing bowl. Let it sit for 5 minutes.
Add in the first 2 kilos of flour, the eggs, 2 more cups water, the salt, and most of the oil . Start to knead. While the mixer is kneading, add in the rest of the flour and the oil. If the dough is too firm, add bits more water to it until it is slightly sticky. To make it come away from the sides of the bowl, add in small bits of additional oil as it mixes.
If the dough is too wet and loose, it will make your challahs spread out when they rise, and it will be very difficult to shape them nicely when you are braiding. To avoid this, add in bits more flour until it is a workable consistency, even if you need to add a bit more than the recipe calls for when doing this. It will still work fine.
When the dough is soft but still firm and only slightly sticky, turn it out into an oiled, deep bowl or onto an oiled surface on the table. Turn it over once or twice so it is greased on all sides. Do the mitzvah of separating challah with a blessing and when you are finished and have disposed of the separated piece, cover the dough with plastic or place it in a large garbage bag to rise. After 30 minutes or so into the rising time, punch it down and let it rise for another hour or a bit more. It should more than double its bulk. This extra punching down and then re-rising activates the dough even better and will make a marked difference in the final product.
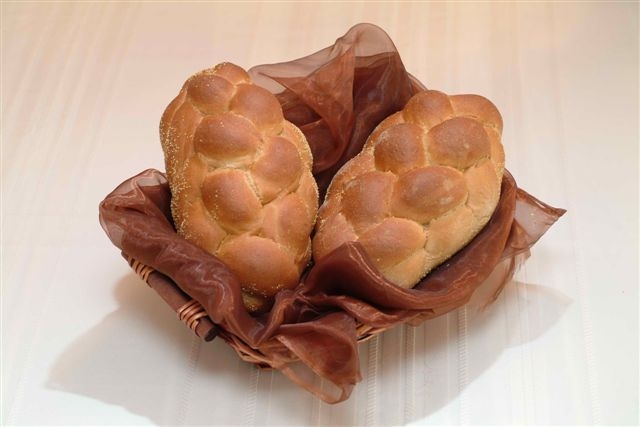
Line your trays with baking paper, and shape dough into rounded shapes as desired.
When the challahs are shaped, preheat the oven to 350 – 360 °F/ 190°C.
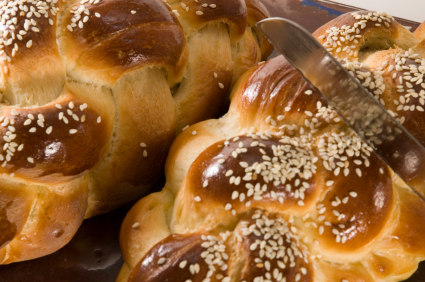
Let the challahs rise for 35 minutes, covered lightly with plastic wrap so they won’t dry out. Brush them with an egg glaze and slide them into the oven after they have risen a total time of 45 minutes. Over-rising them makes them too airy and they often fall, spread too much or lose shape when baking. Bake until golden brown top and bottom, about 40 minutes.
Tip!
For Rosh Hashanah, I like to add golden raisins to the inside of the strands after I have rolled them out, before rolling them up. OR, you can get creative and add in chopped dates…OR, even more fun, chopped up pieces of apples, and small drips of honey! The aroma this emits while baking is incredible.